
My latest passion in life is Logan and anything and everything that helps us feel closer. I've spoken many times about babywearing and how much it helped me bond with my baby. And within the last 3 months or so, I've accumulated quite a few of baby carriers: 1 mei tai, 2 ring slings, 2 soft structured carriers, and 2 stretchy wraps.
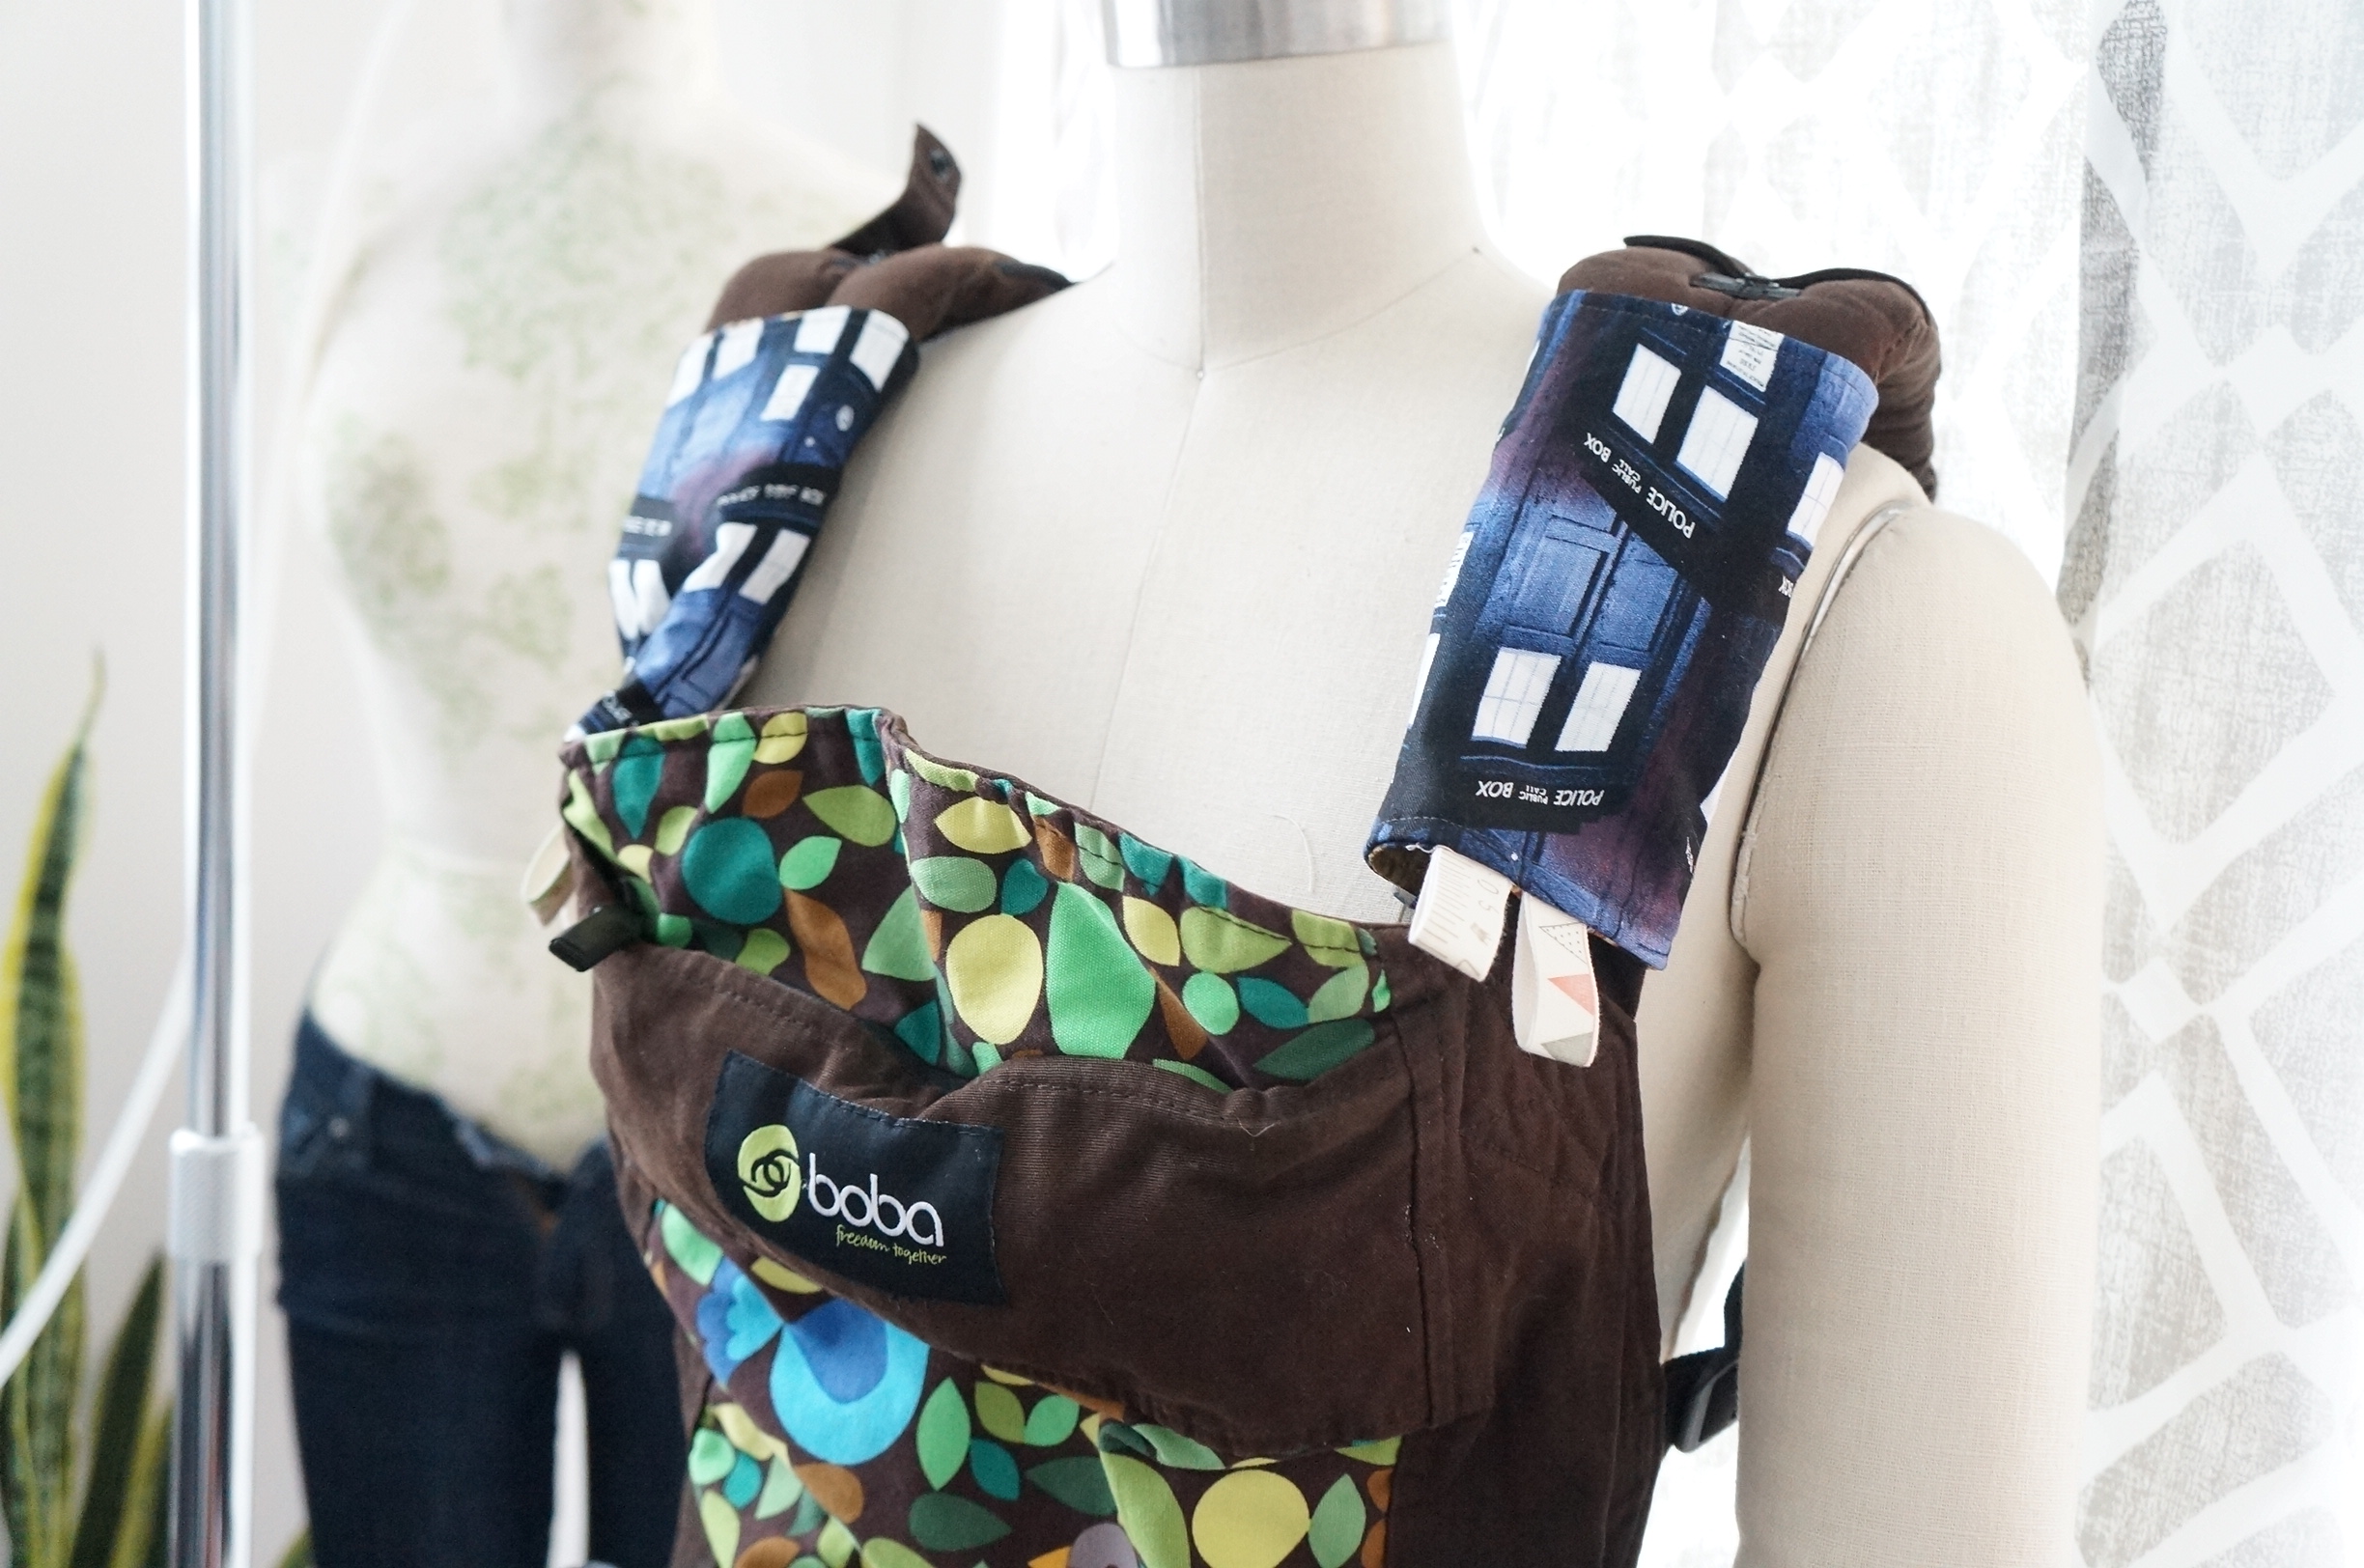
Now that Logan is a bit more aware of his surroundings, and is hitting his 3-month growth spurt, he started turning his head from side to side while sitting in the carriers and suck on his fist or the carrier straps. For my Beco Gemini carrier, I ordered handmade suck pads from an Etsy shop, but for my new Boba 4G carrier, I decided to make my own. They're quite easy to make if you know how to sew in straight line and have other optional accessories.
Materials:
- Fabrics: I prepared 2 1-yard fabric in Doctor Who prints. (Print 1 - Exploding Tardis ML289835. Print 2 - Packed Tardis ML289836.) And some flannel fabric.
Note: 1-yard is way too much for a pair of pads; you could even go with a quarter of a yard but who wants to make just a pair?
- an Even Feed Walking sewing foot
- matching thread (I went with Gutermann poly)
- a Letter size paper or pattern paper
- Snaps (and appropriate snap tools. Some are sew-on, some need special tools).
- scissors, rotary cutter
- 4 3.5-inch ribbons or tapes. I used a roll of twill tape and some cute fabric tape with a double sided back to tape it on to the twill tape. These are optional and are for toys you can hang on to the suck pads.
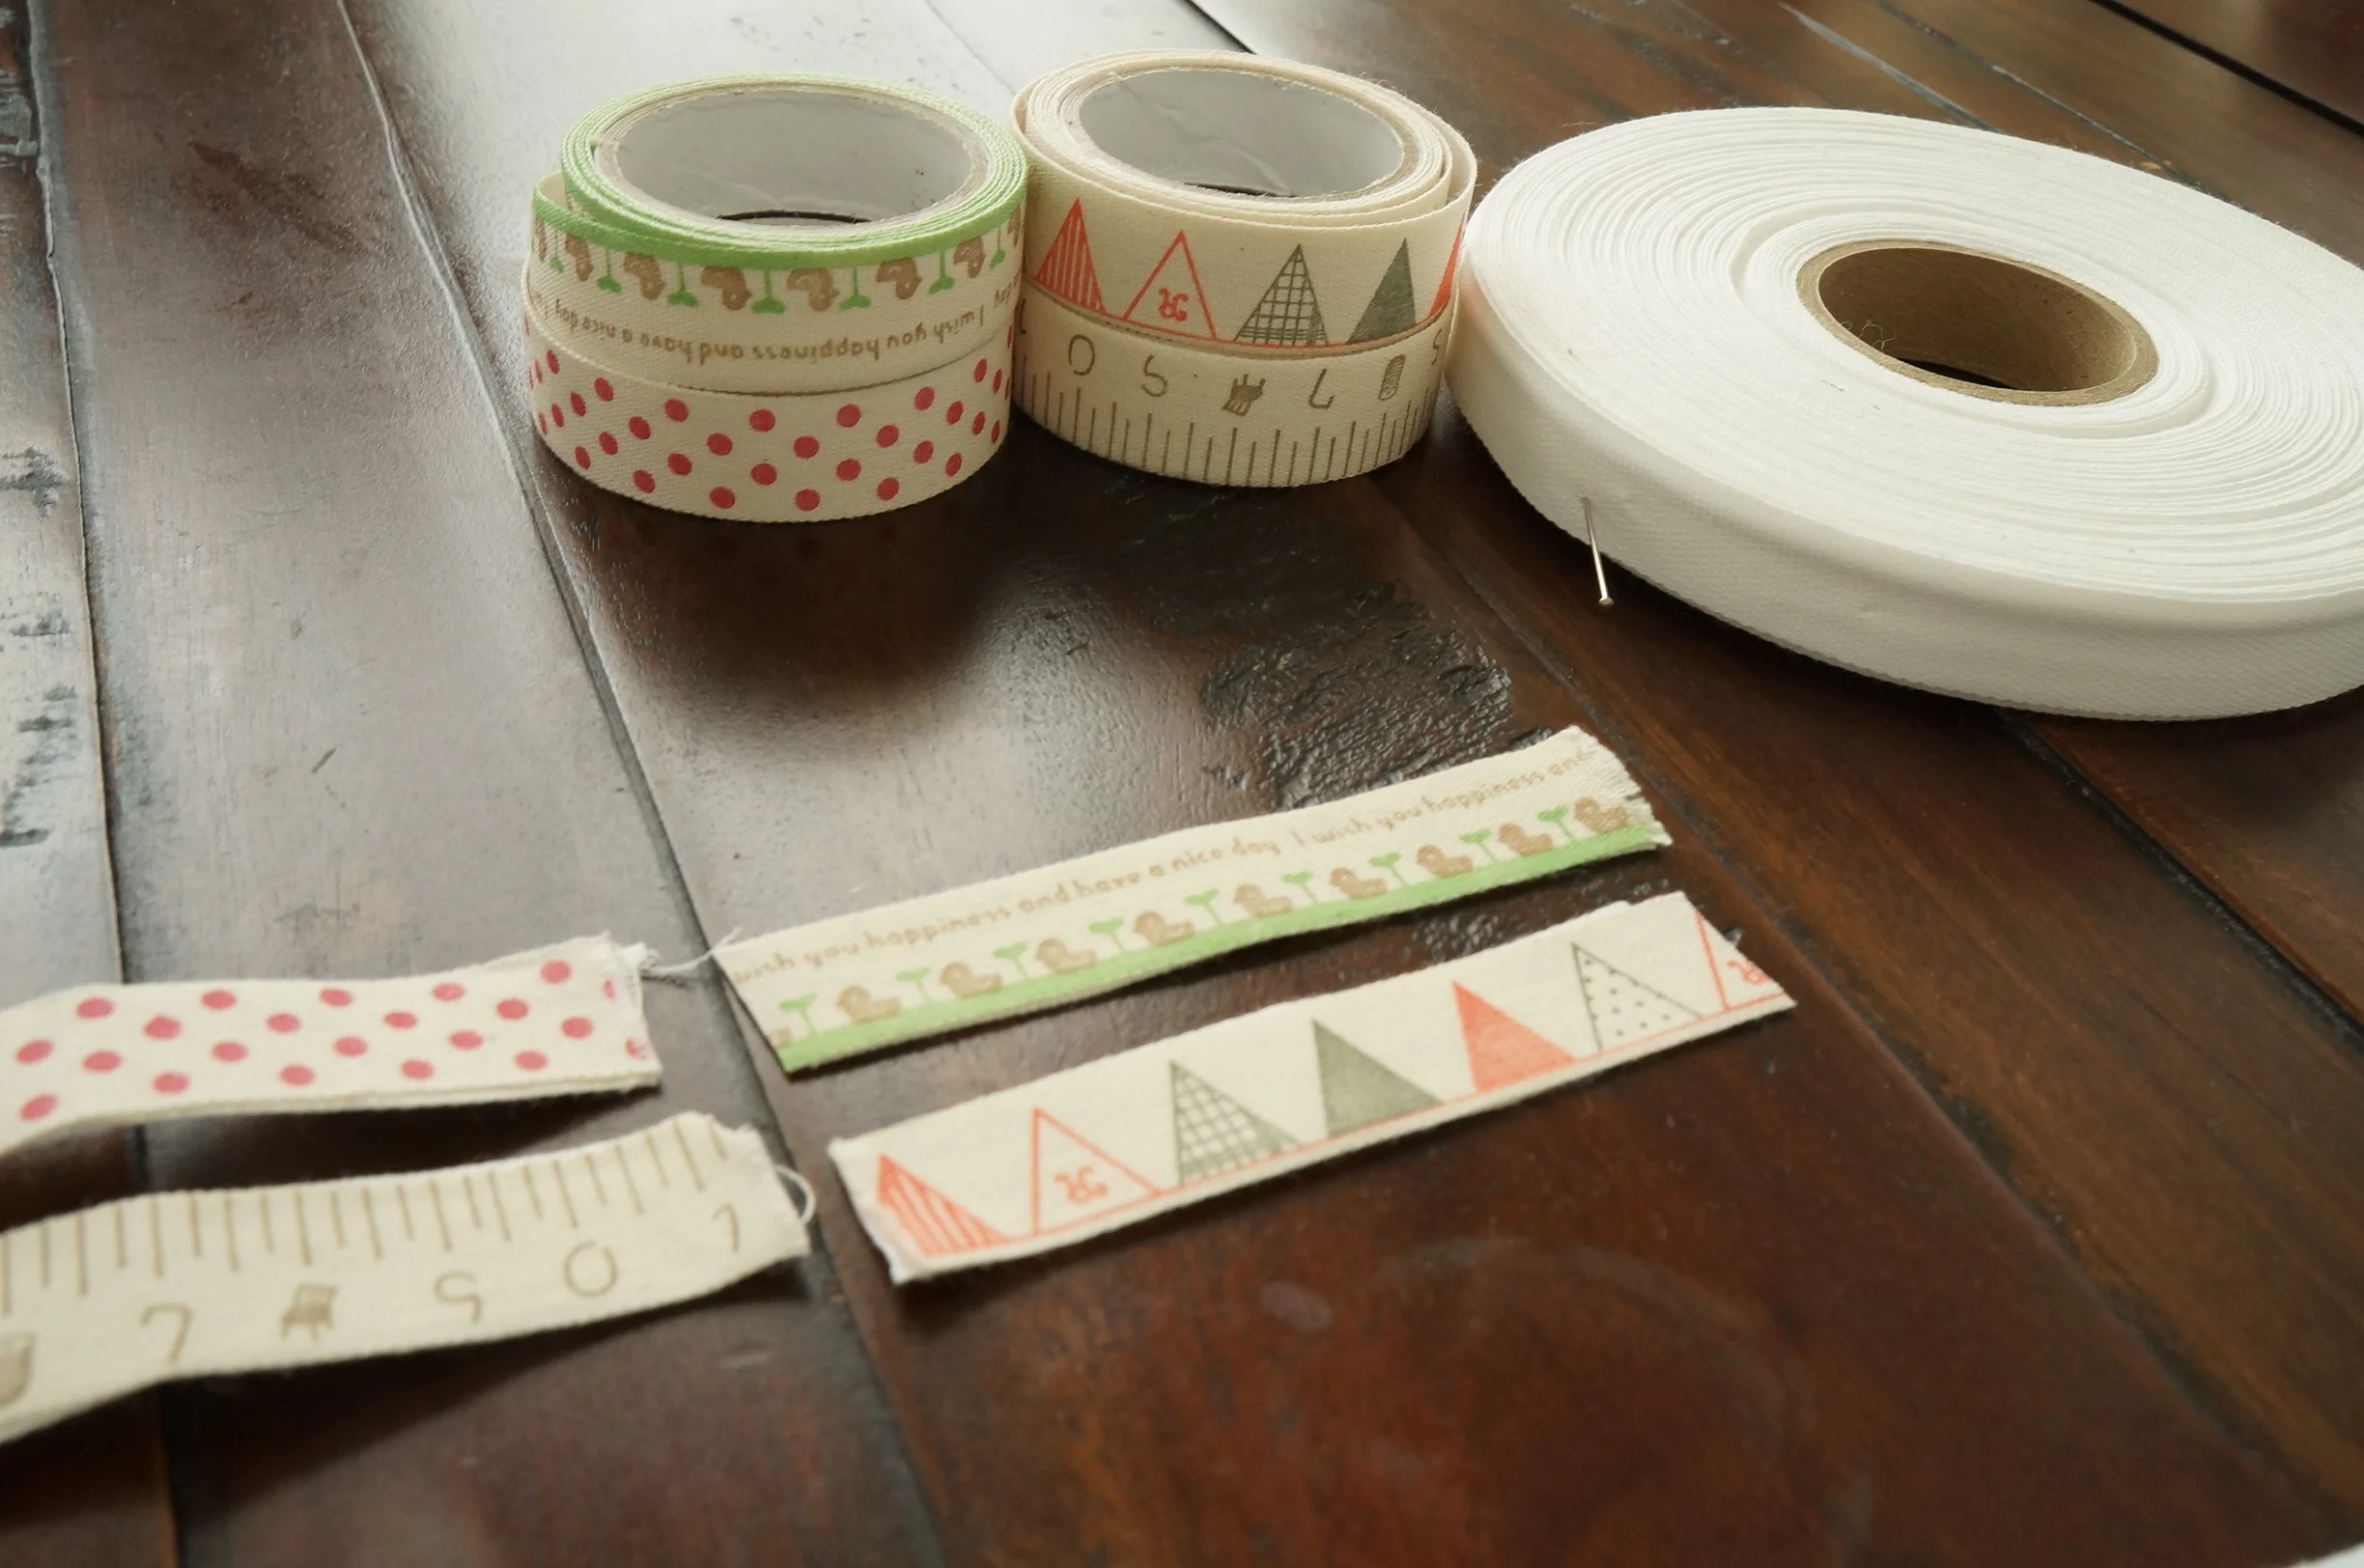
Made tapes using a roll of twill tape, and cute "scrapbook" tapes with double-sided tape on the back. I just cut and taped them to be used for loops for the toys. | Handmade Fashion at Candy & Bagel
Instructions:
1. First, prepare the pattern. After making a few, I think 7" x 9.25" is the size I like. So I took a sheet of Letter size paper and folded the edges to make it into the pattern in that size. You could also use construction paper or real pattern paper for this.
2. Cut the pattern, on fold, for each of the fabrics: so, 2 cuts of Print 1, 2 cuts of Print 2, and 2 cuts of the flannel. Before cutting, make sure you look at the print direction and you like that. For these Doctor Who prints, I cut with the short side on the grain.

3. Baste the loops on to the Print fabric.
3. On Print 1, baste on the loops onto the middle of the long edge. Again, make sure you like the direction of the print when you do this. I set the seam allowance at 1/4"
4. Arrange the cut fabrics: Print 1 and Print 2, right side together. Set the flannel on top of Print 1 & 2 fabrics.

5. Stitch, ;eaving a small opening.
5. Stitch around the 4 edges, except leave a small opening so that you can turn it inside out later. My seam allowance was 1/2".
6. Through the opening, turn the pad inside out (outside in?) and top stitch around at 1/8" to close the opening.
7. Install snaps about an inch away from the edge. (I got these snaps and snap tool for $26,50 at Amazon)


8. Wear your baby around with pride!